Photobucket Photobucket Photobucket Photobucket Photobucket Photobucket Photobucket

Saturday, December 31, 2011

2011 - Favorite Projects

2011 was a great year!  I wanted to share my favorite projects from my first year of blogging.  Of course some of my favorites came from the good old blogging days of Turbo Bubblegum.  And although it was sad to say goodbye to that fun, I love Home Delicious.  So how about 3 from each?

The number 1 top project of 2011 (by far!!!) was:
Bathroom Art
I created these from the Land of Nod catalog for my kids new bathroom and they were a hit!
Number 2:
Healthy Chicken Taquitos
Have you tried these yet?  SOOOO good!
 Number 3:
Personalized Clock
I made these for end of the school year and the teachers LOVED them!
The number 4 project is:
Chore Chart
This is also my most pinned project! (and I still swear by it!)
Number 5:
Spooky Silhouettes
My kids loved these and the Thanksgiving silhouettes so much they wanted some for Christmas!  (I didn't do it, though.)
And the last project I will share of 2011 is:
Magnet Board for a Boy
I hope you had as much fun in 2011 as I did!  And here's to many more fun projects in 2012!

Linking up today at Tater Tots and Jello

Thursday, December 29, 2011

Are you losing weight this year?

This is a Sponsored post written by me on behalf of Slim-Fast for SocialSpark. All opinions are 100% mine.

New years resolutions and a goal to lose weight.  They are one and the same.  Every year I say the same thing.  


Well this year I have a little more incentive.  My husband and I were asked to be the Ma and Pa on a pioneer trek.  Basically we will be the "parents" to 10 14 - 18 year olds while hiking for 4 days in the mountains.  And did I mention the 700 lb. handcart?

So my husband got the Jillian Michaels Ripped in 30 DVD for Christmas.  I got the Wii Zumba 2 game.  And we will be practice hiking once a week.

And now comes the diet.  Can you hear the bum bum buh music in the background?

Last year I made the mistake of trying the HCG diet.  Don't get me wrong.  It worked.  But It was a killer and I gained it all back.  So this year I am shifting to a new mindset.  Something I can do forever.  Enter the Slim-Fast

The Slim-fast people have come up with a 3-2-1 plan.

This includes 3 snacks.  These can be the 100-calorie bars, veggies, fruit nuts.  Basically something healthy, and filling. SF-123-SB-ChocolateNougatGoneNuts.jpg

2 Slim Fast Shakes or meal barsSF-123-RTD-CreamyMilkChocolate.jpg

1 healthy, balanced 500 calorie meal.


For more info on this awesome plan, see the Slim-Fast website.

This is totally something I can do.  And I am going to stick with it darn it!  

So let's talk flavors.  These snack bars come in yummy flavors like chocolate mint, chocolate nougat gone nuts (sounds like snickers, no?) I am most excited about those two, but maybe you would like the Double Dutch Chocolate or the Peanut Butter Crunch Time.  And you can buy them all in the pharmacy section of most major retailers like Wal-Mart, Target, Safeway, Kroger, Amazon,com and even the Slim-Fast website.

These products are delicious and filling, I am personally going to start BEFORE New Years Eve so I am not as tempted to eat cookies and chips.  :)  And New Years parties always have the obligatory veggie trays, right?  

So what are you doing to get in shape this coming year?  Why don't we all start by liking Slim-fast on their Facebook page and making a goal!  I have!

Visit Sponsor's Site

Thursday, December 22, 2011

Reindeer Treats

Today Alexa had to bring treats to school.  She happened to be looking over my should the other day when I saw these cute reindeer donuts at Poca Cosa.
She was in love!
Yes, I know my tray is ugly!    But aren't those reindeer cute?
Needed:
Hostess Donettes (face)
Pretzels (antlers)
Peanut M&M's (Nose)
mini M&M's (eyes)

So Simple!

Teacher Gifts

So maybe your kids are already out of school?  Mine aren't.  We go straight through tomorrow.  :{
So go ahead and pin this idea and use it later!  :)

I decided to combine a few different ideas we used for the super saturday activity to give to the teachers.
I came up with these:
Magnet board picture frames!
To start, I used some wood cut about 10x6.  To be honest, I bought this wood planning on making some larger magnet boards for wedding presents, but bought the wrong size wood!  So I reused this wood.

I also used these bases (2 for .99 at hobby lobby)
candle cups (6 for 2.99 at HL) and finnials (3 for 1.47 at HL) and keep in mind these can be cheaper with coupons.
I also used the metal sheets and decorative nails from Home Depot.  Info found here.

First I painted everything.
Then I sanded it to distress it a bit and added the metal.
I would suggest adding any vinyl lettering now, before you glue everything together.
Then get out the good old E-6000 and glue everything together.
Allow them to dry at least over night!
And add a fun magnet with a personalized note for decoration!


Linked today with Every Creative Endeavor, Somewhat Simple, Creations by Kara, Someday Crafts, Junk in their Trunk Ginger Snap and Lil Luna

Wednesday, December 21, 2011

Cranberry Apple Pie over at Naptime Crafters

Cranberry Ginger Apple Pie!  One of our favorite pies EVER!  
And I am sharing the recipe over at Naptime Crafters today.  Stop by and check it out!


There's nothing like peeling apples to keep your 3 year old busy!


Tuesday, December 20, 2011

Neighbor Gifts

Don't you wish you were my neighbor? If you were I would bring you these sweet goodies...

My fridge is full of them.  What is it exactly?  cookie dough.  The most delicious cookie dough ever.  I will share that recipe in a minute.
But first, are you laughing at my labels? My Silhouette isn't quite working right so we went with the good old paper cutter.  And the writing instead of printing.  Well, it kept my 10 year old busy.

Anyway, on to the recipe.  This is basically Nestle's recipe with crunched up Oreo's in it.
Oreo Cookie Dough
(We 8 x the recipe in our house yesterday!)
2 sticks of butter, softened
3/4 cup brown sugar
3/4 cup white sugar
2 eggs
1 tsp vanilla
1 tsp baking soda
1 tsp salt
2 1/4 cup flour
1 1/2 cup chocolate chips
about 10 oreos chopped up

Now don't be tempted to use margarine.  You can use 1/2 margarine if you want.  1 stick of each.  But don't cut out the butter entirely!
Stir the butter until smooth.  We have a rule in out house.  No electric mixers with cookies, just wooden spoons.  I swear it makes them taste better.
Add the sugars and stir.
Add eggs one at a time and stir until smooth.
Add vanilla.  And try to use GOOD vanilla.  :)
Sprinkle salt and baking soda over the top and stir well.
Add flour and guess what.  Stir.
Finally add oreos and chocolate.  Try not to chop up the cookies too fine.  Leave them kind of chunky.  I use my pampered chef chopper and give it 3 chops.  Perfect.

That's it!  You can cook them at 375 for 10 minutes.  Or share the dough.  It is so good!


Thursday, December 8, 2011

Mud Pie


Thanks to Duncan Hines for sponsoring my writing. There's no limit to the baking possibilities, so grab your favorite Duncan Hines mix and Comstock or Wilderness fruit fillings and Bake On! www.duncanhines.com

My husband has been on a social kick lately.  "We should have people over," he says to me like 4 times a month.  Finally I gave in.  "OK, let's have a holiday pie party and invite some neighbors."  We have been here about 1 year and don't have many friends in the neighborhood.  But then came the doubt.  Will some people feel left out?  I can't invite EVERYONE!

Finally, we decided to just DO IT!

We are so excited to share our home, food and show our holiday decorations with friends!  Why we haven't done this before is beyond me!  We asked our friends to bring a pie to share and to bring their appetite!

I wanted to share with you my kids most favorite holiday recipe.  This is GOOD!  My kids aren't big pie eaters, but this isn't really a pie.

Note:  This is a make ahead pie.  You must make it the day before!


Mud Pie, Sims style
Ingredients:
1 box Duncan Hines brownie mix (I used the yummy dark chocolate, but any flavor would work!)
plus ingredients for brownies
1/2 stick butter
1/4 cup heavy cream
2 Tablespoons light corn syrup
1 cup chocolate chips
1 tsp vanilla extract
1 cup powdered sugar
chocolate ice cream (please get the good kind!)
Toasted almonds, m&ms, oreos, or toffee bits for the top

Make brownies as instructed on box and cook in a springform pan for 30 - 35 minutes.  Cool completely.

In a microwavable bowl, combine butter, cream, chocolate chips, and corn syrup.  Cook in 30 second intervals, stirring after each interval until melted and smooth.  It took me only 2 intervals.  Add the vanilla and powdered sugar and stir until creamy and smooth.  Spread 1/2 the chocolate mixture on the brownie, reserving the other half in the fridge.  Refrigerate brownie 1 hour.

Using an electric mixer, beat the ice cream on medium speed until it is spreadable.  Don't make it runny, though!  Spread immediately onto the brownie and put in the freezer until a completely firm.

Finally, warm the reserved chocolate in the microwave until spreadable (but not hot) and spread on ice cream layer.  Sprinkle desired topping.  Place back in freezer overnight.

You will LOVE this!  The fudgy layer in the middle and on top is SO delicious!


Remember to check out Duncan Hines' website www.duncanhines.com to find some great recipes for your holiday get-together! I was selected for this sponsorship by the Clever Girls Collective


linked today at: House of Hepworths, Every Creative Endeavor, Somewhat simple, sassy sites and bear rabbit bear

Wednesday, December 7, 2011

M&M Snack Mix

Cold?
This little sweetie had her first (and last?) dance recital yesterday.  It was the cutest thing ever.

What do you think about these tap shoes?  I got these super cute hair clips in the mail literally minutes before we left and inspiration struck.  I just clipped them to the ties to make it a little more festive.
We had to bring a treat to share.  My older daughter needed 2 dozen sugar cookies for an activity later that day, but the little one doesn't like sugar cookies.  Bummer.  What do I have around the house that I don't have to go to the store for?

Then, I found this recipe and I loved it!

Always Bunny Ears

M&M Snack Mix

6 cups crispix or chex cereal (I used Crispix)
2 cups honey Teddy Grahams
1 stick of butter, melted
2 Tablespoons brown sugar
1 teaspoon cinnamon
2 cups marshmallows
2/3 cups M&M's

Dump the cereal and crackers on a large baking sheet.  Mix butter, brown sugar and cinnamon together.
Drizzle over cereal mixture.
Stir stir stir.
Bake at 250 for 45 minutes, stirring every 15 minutes.
Cool.
Add marshmallows and M&M's.

Enjoy!

Linked today with Lil Luna!

Monday, December 5, 2011

Ho Ho Ho Holiday Fun with DownEastHome!

Since I don't live in Utah, I thought I was out of luck when it came to Down East Home.  Wrong!  I was thrilled to find out that Down East Home is now available online!

DownEast Home sent me a few fun items to try out and I wanted to share them with you.
Aren't these birds so cute?  You will not believe they were only 1.99 and 3.99.

Or maybe you would like a little more bling?  I saw these swanky sequin pillows in many colors for only 14.99!

I really wanted a trifle bowl and can you believe it was only 9.99?  I filled it with ornaments for now, but who knows what the future holds for this baby!

So what would you do with $500 to DownEast Home?  I'm not kidding!  DownEast Home is giving away a $500 holiday home makeover to one lucky winner between now and Dec 9!

Go to www.facebook.com/downeasthome for more information and to enter the sweepstakes!


My Friendship Bracelet Maker Winner


Using Random.org, the winner of the My Friendship Bracelet Maker is number 25...

Heidi!

Congratulations Heidi!  I will contact you shortly with the details!

Thursday, December 1, 2011

Broccoli Soup

If you are looking for the giveaway, click here:

Did you get a chance to see my guest post for Pink Senorita last week?  If not, here is a repost:

Nothing says Fall to me like soup.  It gets so stinking hot here, that until November we have a "no soup for you!" rule around the house.  So all of a sudden, come November 1, we have soup every day.  This is my kids FAVORITE recipe in the world.  They would eat it every day if I would make it every day.  But I won't.  Because, I will be honest with you.  It takes a little time.  But it is SO worth it.  Have you ever been to Archibalds Restaurant at Gardner Village in Salt Lake?  It tastes just like that!  But better service.  (I can't stand how snotty that place is.)  And can I note there is no cheese, no cream, and so many veggies!!

Whitney's Broccoli Soup
1 onion, chopped very fine
1 handful baby carrots, chopped
2 stalks of celery chopped
2 stalks of broccoli chopped
3 Tbs bouillon mixed with 6 Cups hot water
1/4 cup butter
3/4 cup flour
2 cups milk
1 cup non-fat evaporated milk

Spray large soup pan with non-stick cooking spray.  Add first 3 chopped veggies and cook on low 5 minutes.
Add broccoli and 2 cups of broth and cook 15 minutes.  Add rest of broth and boil. 5 minutes.  While boiling, melt butter and add flour to make a roux.  (This is my least favorite part, and make sure your kids aren't pulling on your legs while you do it.)  Using a whisk, slowly add the 2 cups milk and cook until think.  It only takes a couple of minutes, but whisk constantly.  Take off heat and whisk in evaporated milk.  Whisk until smooth.  Add to soup and simmer 15 minutes.


Enjoy the best broccoli soup ever!

Tuesday, November 29, 2011

Giveaway Time! {My Friendship Bracelet Maker}

This giveaway is now closed


Just in time for Christmas, I was sent this fun barrette maker to try out and review.
It's called My Ribbon Barrette Maker and it was definitely a blast from the past!  Remember these from when we were little?  I LOVED it the second I opened the box!
This kit was so cute and had everything we needed to make these adorable barrettes.  It's this brilliant little case where on the inside it stores the supplies and the outside has the "maker."  My 10 year old snatched it up and immediately began playing around.  Not only are the barrettes cute, but this keeps the kids busy.  Double bonus.

So want to win one?  Actually, you can pick this, the My Friendship Bracelet Maker, or the clipboard!
Have you seen these at Costco?  I have and the kids are always drooling over them!  Remember when we had to safety pin them to our jeans or our shoes?  And if you had on shorts and flip flops you were out of luck!  lol!  Gone are those days!
Note:  This contest is only open to those with a US address.
Rules:
1)Visit www.myfbm.com and come back to leave me a comment telling me which item you would like!

Want additional entries?
2) Follow myfbm on twitter come back and let me know!
3) Like myfbm on Facebook come back and let me know!
4) Be a follower of Home Delicious.  Leave me an additional comment telling me you are!
5) Like me on Facebook and come back telling me you do!

This contest will be open until Sunday, Dec  4 at 11:59 pm, mst.  I will announce the winner on Monday! Good luck!


Monday, November 28, 2011

Gift Wrap

Since I am sick-o, I thought maybe you would enjoy this guest post I did for Sugar Bee Crafts a couple of weeks ago.  Enjoy!


I am no good at making bows, so usually the gifts are either scribbled on with a Sharpie or I use a little piece of wrapping paper folded in half as a card.  Are any of you guilty of this?  So I decided to be a little more creative this year.  And a picture is worth a thousand words, right?
All you need to make these cute gift tags is:
grosgrain ribbon
scraps of paper
photos

I printed off the photos at Costco.com as a wallet size.  They cost 39 cents for 4.
Simply wrap around the ribbon, secure it with a glue dot or tape, and add the paper and photo to the top!

There is now no excuse for ugly presents.  Remember:  presentation is everything!


Sunday, November 20, 2011

Happy Thanksgiving!

I will be taking a little break this week -
I wish I had a laptop, but since I do not I will be back soon!  Have a Happy Thanksgiving!

Friday, November 18, 2011

Wednesday, November 16, 2011

Super Saturday: Bottle Cap Magnets

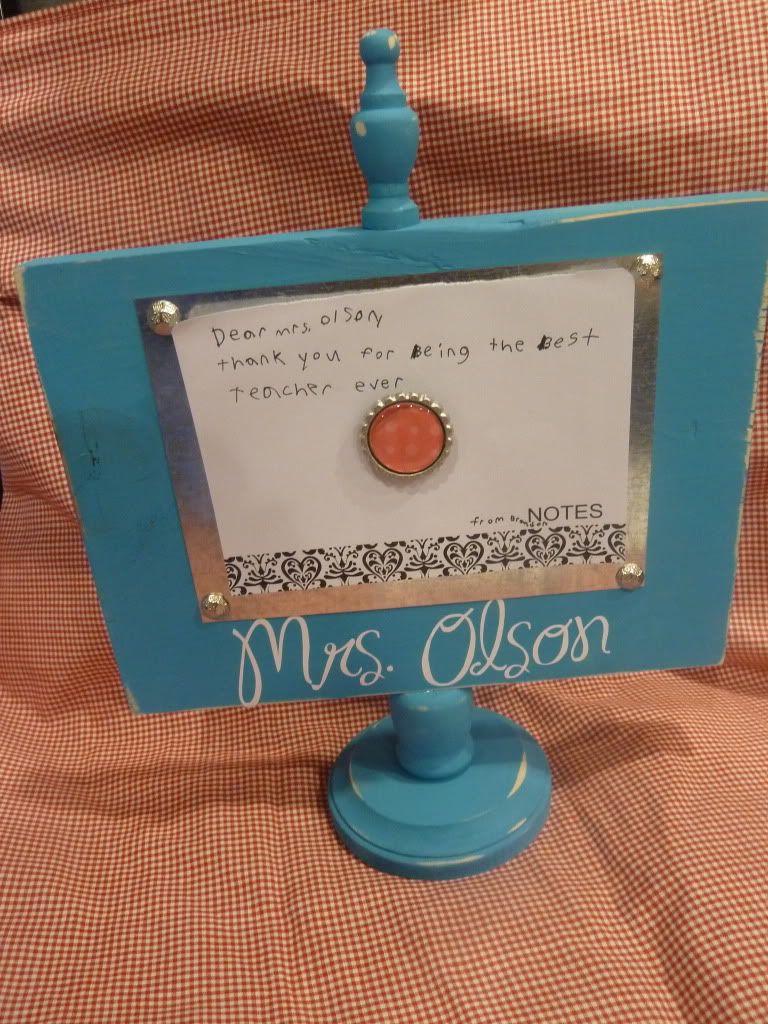
A few of you asked me to share how we made these cute magnets at our Super Saturday, so of course!

Now this project was actually done by Jen from Jen's Brain Things.  I have used some of her pictures, as well, with her permission (of course!)

Items needed:
Bottle Caps
3d Epoxy domes
scrapbook paper
magnets

First:  Buying the materials.

Bottle caps can be found SUPER cheap.  They are all over, but Aunt Christy's is 100 for $3.95.
The 3D epoxy dome stickers are 100 for $9.95.  Not quite as cheap as the bottle caps, but not bad.  Those were also at Aunt Christy's.  I linked the actual item for you in case you want to check them out.
They sell all this at the craft stores, but they are super crazy expensive there.
example:
Hobby Lobby stickers 24 for 2.99.  (OK not too bad.)
Hobby Lobby bottle caps 24 for 9.99 (Yowzers!!!)
Also, the pre-flattened bottlecaps can be found at bottle cap co, but they are $14 for 100.  Any color. (even cheetah.)  And the price goes down with quantity with free shipping over $25.

Magnets seemed to be strongest and cheapest at Hobby Lobby.  50 for $6.99.  Now Michaels are same price and the magnets look identical, but they weren't as strong.  JoAnn's didn't have any large packs at all.

Second:  Tools!!
Jen has this cool tool called a cuttlebug.  I'm not sure of another way around this.  Maybe run it over with your car?  lol.  If you are reading this Jen, let us know!
1 inch circle paper punch
hot glue gun

Ready?  Let's go!

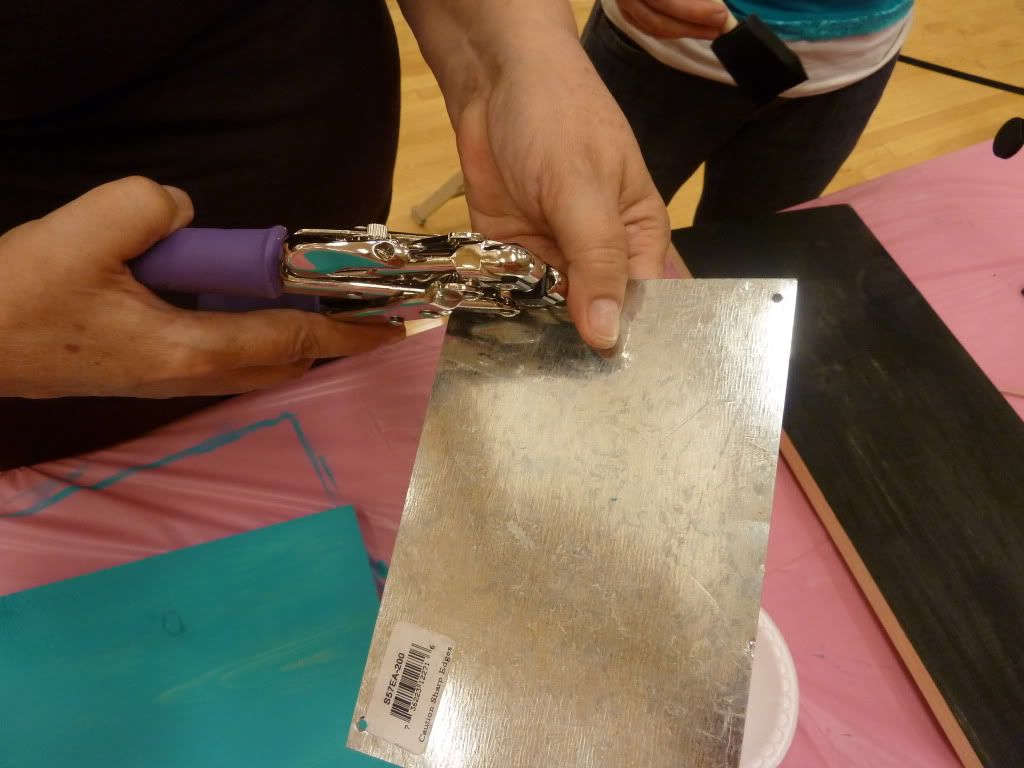
First, take your cuttlebug and run the bottlecaps through.  If you want a detailed description of how, go here.  (Or buy the preflattened bottlecaps!!)

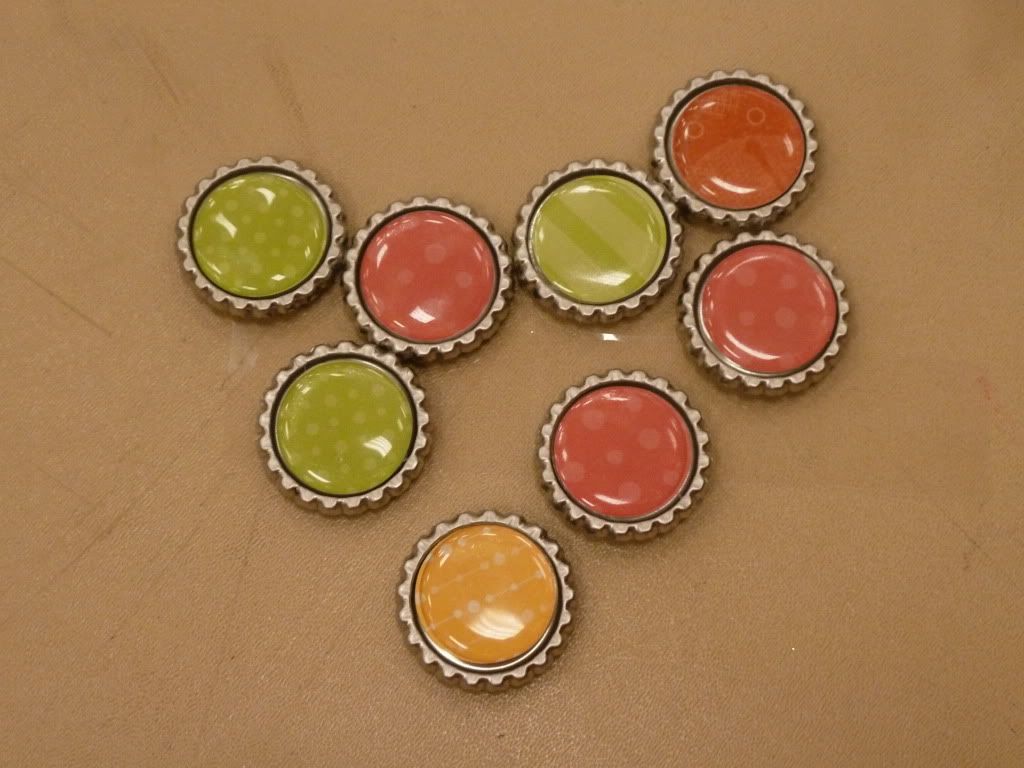
Next, punch out your paper circles.

Place them on the bottle cap.
Add the sticker.  If you check out Jen's tutorial, you will notice she used a glaze instead of the stickers.  But trust me - the stickers are so much easier.  And if you are working on a large scale, they don't need drying time which is a BIG DEAL!

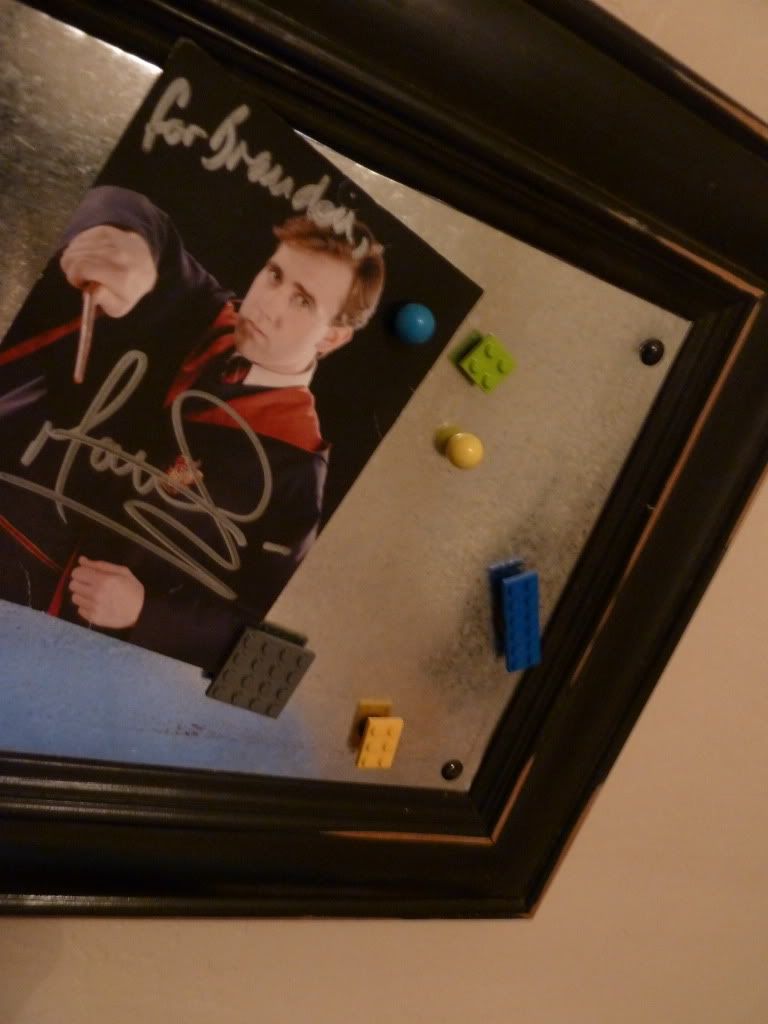
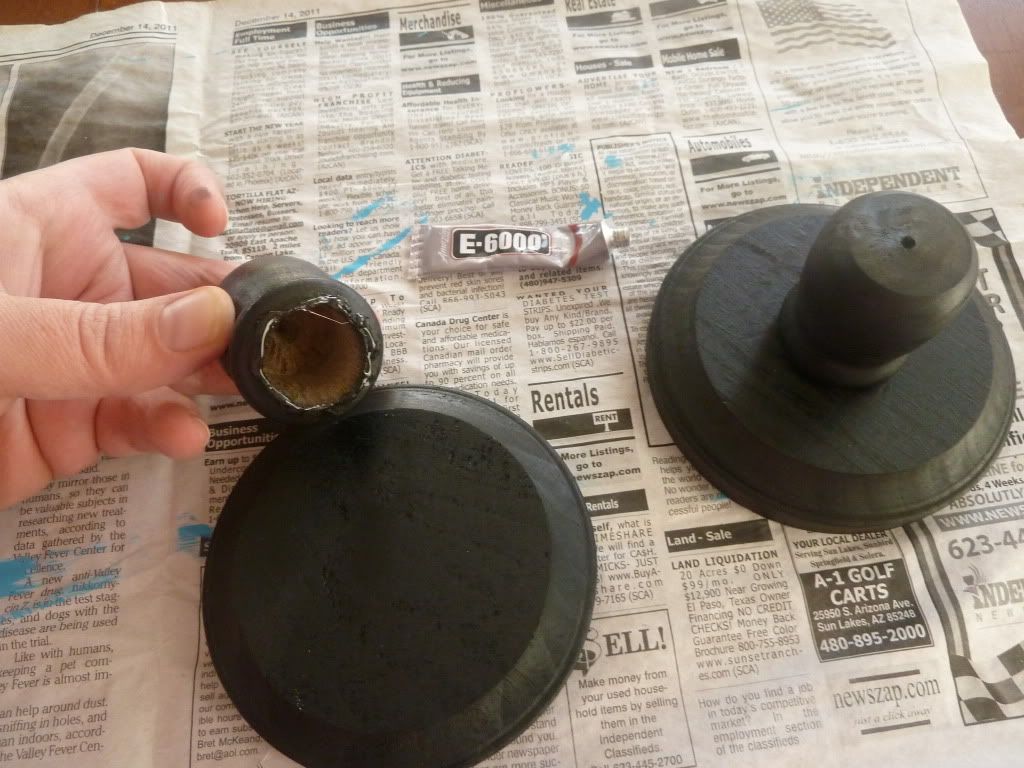
Use a glue gun to glue the magnets on the back.  If you have E6000, that is a good option, as well.

Done!  So easy!!

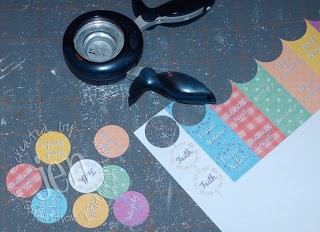
Jen did some cute YW values magnets I thought I would show you, as well.

Then she put them in a gift card tin.  So cute!

Thanks Jen for letting me share your Super Saturday craft today!
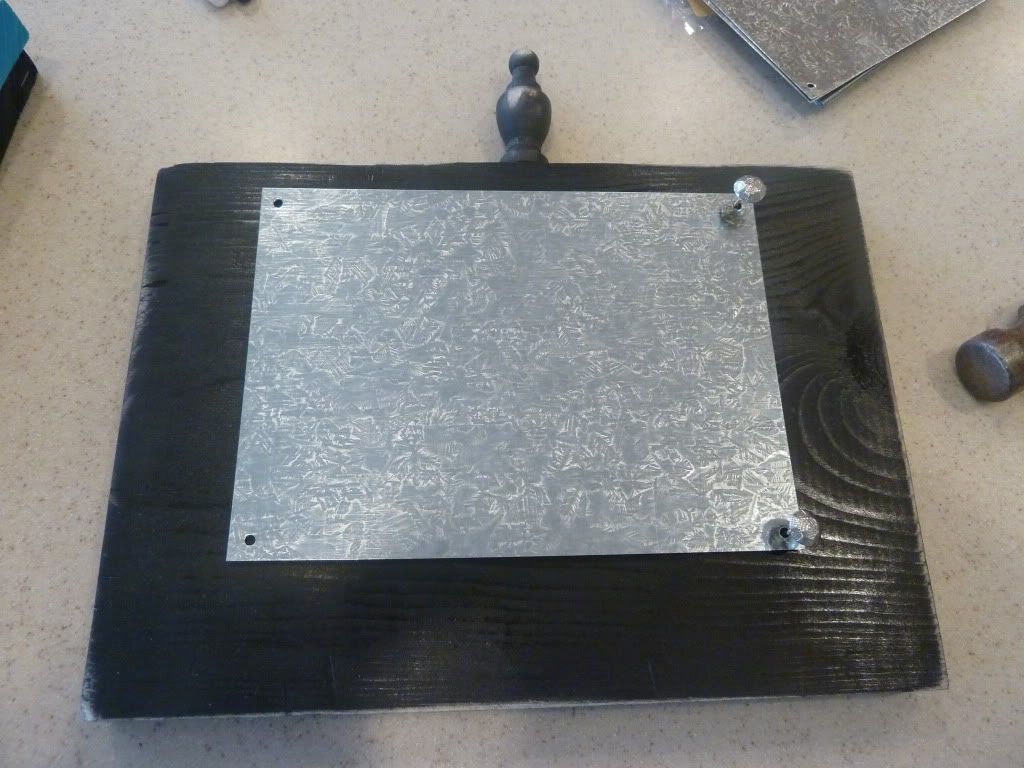
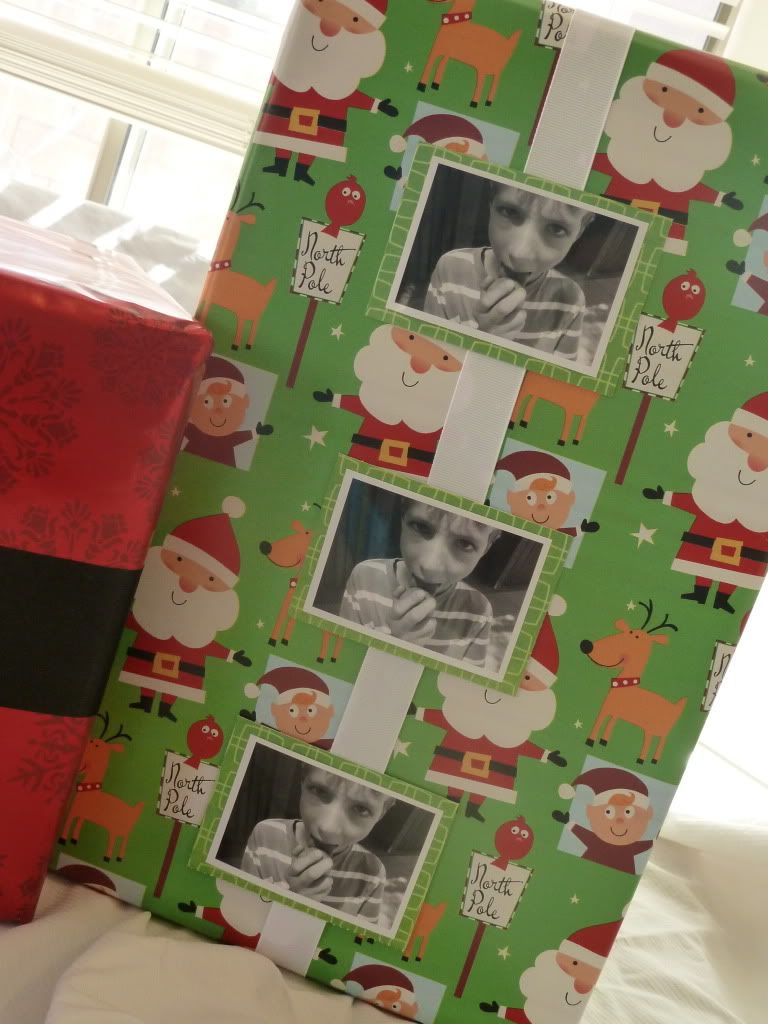
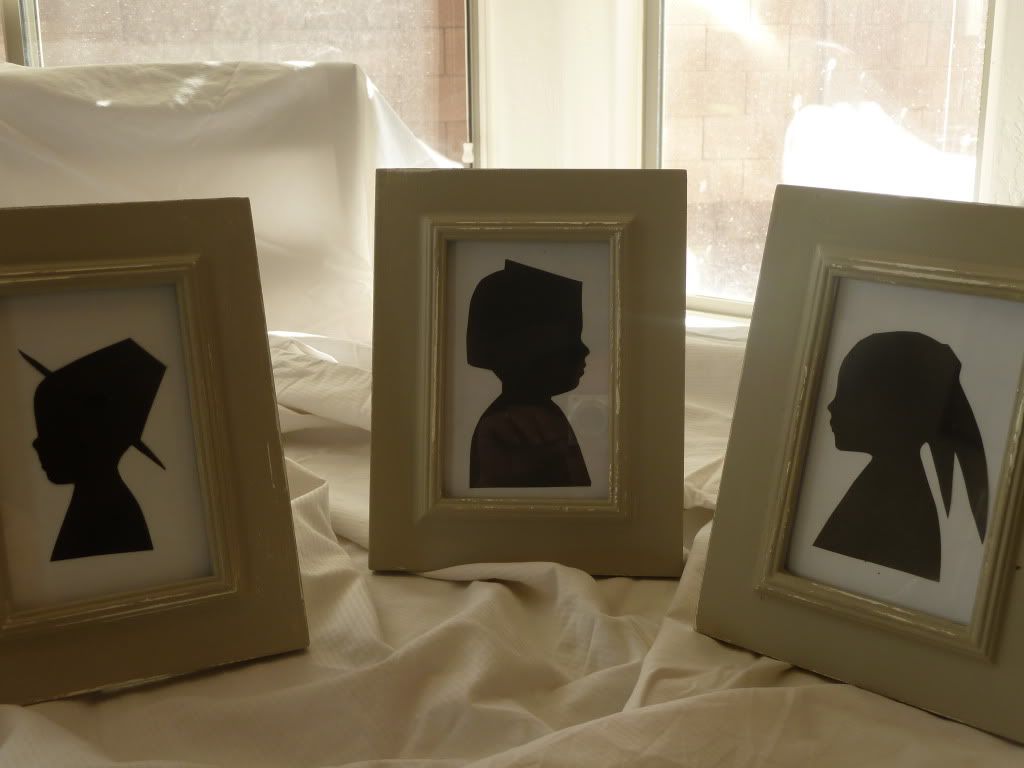
And for those of you wondering how the cute picture frame things were made, tutorial found here at Shanty2Chic.

Saturday, November 12, 2011

Gluten-Free Anyone?

This is a Sponsored post written by me on behalf of Schar for SocialSpark. All opinions are 100% mine.

It seems that everywhere I look more and more gluten-free options are available!  It's amazing!  Restaurants even have them on their menus.  

Now, I am not allergic to gluten, but I went gluten free for a while and decided that my body likes me a lot better when I don't eat it.  It really surprised me!

So when I heard about the new gluten-free products from Schar Club I was totally taken back!  Sub sandwich rolls.  Ciabatta rolls.  Baguettes.  I am not even kidding!  Maybe I live under a rock, but I didn't even know they existed.

scharlogo_hires_web.jpeg

My kids think baguettes are the best bread ever invented.  They would take a small baguette to school for lunch if I let them.  Just that.  Nothing else.  They LOVE it!  So I was thrilled that I could make food for my whole family, including me!  And can't you just imagine dipping them in some yummy soup?  Again - gluten-free!

Schar Club is not only the leader in gluten-free food, but the are the bomb in my book for launching this awesome line of food.

Want to try some free?  Click her for a Schar free sample.  This website has recipes, giveaways, dieticians and Coupons for a Free Sample!  All you have to do is sign up for the Schar Club.  Super easy. (and worth it!)

What are you going to make with your gluten-free bread?  A sub?  Meatball sandwich?  Turkey on Ciabatta?  Leave me a comment and let me know!

Visit Sponsor's Site

Tuesday, November 8, 2011

Thanksgiving Silhouettes


I know it hasn't been long since I did my Halloween Silhouettes, but I couldn't help myself.  When I saw these Thanksgiving silhouette table settings at Martha Stewart I knew I had to personalize them, as well.

Just like my spooky Silhouettes, I took a side view picture of my kids and printed it out on regular paper.
Then, I drew the hats or feathers on the picture.
I did one thing differently this time, though.
Check this out:
After I cut them, I took them outside and spray painted them black!  So much easier than using a Sharpie.
And they dried super fast.
Then, I just stuck them on card stock and framed them!  Super easy!


Sunday, November 6, 2011

Super Saturday Crafts - Magnet Board Tutorial

For some CRAZY reason I volunteered my services at our neighborhood Super Saturday. We had a few crafts for the ladies to put together to hand out this year as holiday gifts. Whew! Who knew that a project so easy to make for 1 could be such a pain in the butt for 20? The project I chose was this magnet board:

We also made these awesome picture frames:
And some really cute apothecary jars:
Oh, and how can I forget the magnets?!?
These are going to look super great on the turquoise magnet board my mom and I made for my niece.

I have to give you the low down on finding supplies for this project.  Lowes is my usual "go to" store, but not this time.  Oh no.  Home Depot was the only place for this magnet board.  Lowes originally had some metal flashing sheets in their roofing dept. for about $1 that I was going to clip in half with some tin snips.  I was NOT looking forward to this because I knew it would leave them a little jagged and that always makes me nervous with kids around.  When I went to buy them, however, they informed me that they stopped selling them.  So my only option was aluminum flashing.  Well hello!!!!!  Aluminum is not magnetic so no!!  I already checked out Home Depot and they said they didn't have any either.

I was so disappointed.  I had already collected the money from all the ladies and didn't know what to do. I searched and searched the internet with no luck (in my price range.)

I went back to Home Depot on a whim and did NOT ask for help this time.  I just went straight to the roofing dept. and guess what!!! They sell the sheet metal for 64 cents a piece!  Yeah!  I was so excited.  They had piles of them.  


Magnet Board Tutorial
total cost:  less than $10/per board

Items needed:
10" x 2 1/2' board.  These come in 10" sections and they cut them for free.  (They are about $16 a piece, equaling $4 each)
4 pieces of sheet metal from HOME DEPOT 5"x7" (64 cents each)
16 decorative nails (about $1.50 for 24)
Vinyl lettering
paint 
sand paper

Step one:  Paint the board.  Front and sides.


Step 2:  Sand the edges.

Step 3:  Drill or punch holes in all four corners of the metal.
Now my friend Jen has this really cool tool called the "crop o dile" or something like that.  It was awesome.  It punched right through the metal.  I have GOT to get me one of those.  Otherwise, just drill little holes in the corners.

Step 4:  Nail the corners on the wood.  Just use a regular hammer and pound them in.

Step 5:  Add your lettering to the top.  I used Ma Sexy font.  It was just a free one I found on the web and cut out using my Silhouette.

They turned out super cute and not bad for an under $10 project!